Follow these steps to import an Eclipse project from your Github repository. These steps assume you have already followed the Java and Eclipse Setup and Configuring Eclipse guides.
There might be slight differences with the images below at the latest version of Eclipse, and the URLs may have changed to reflect the current term.
Import Repository into Eclipse
You first need to add the Github repository to Eclipse. Log into Github and open Eclipse, and follow these steps:
-
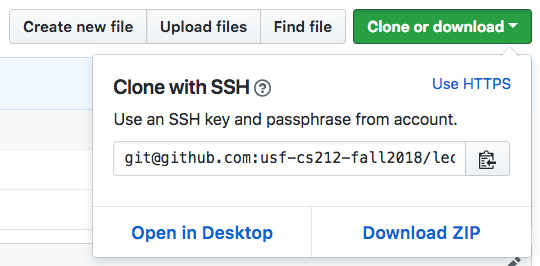
Copy the SSH link to clone your repository in Github. Make sure you are getting the SSH link, not the HTTPS or HTTP links.
-
Switch to Eclipse and open the “Git Perspective” (Help). Select “Window” » “Perspective” » “Open Perspective” » “Other” from the menu, and then “Git” on the dialog box.
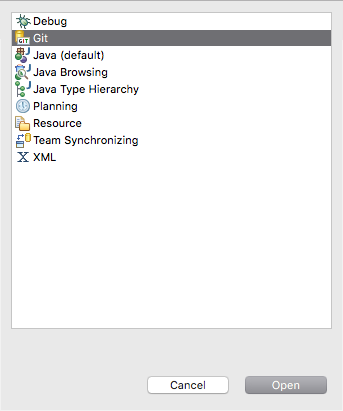
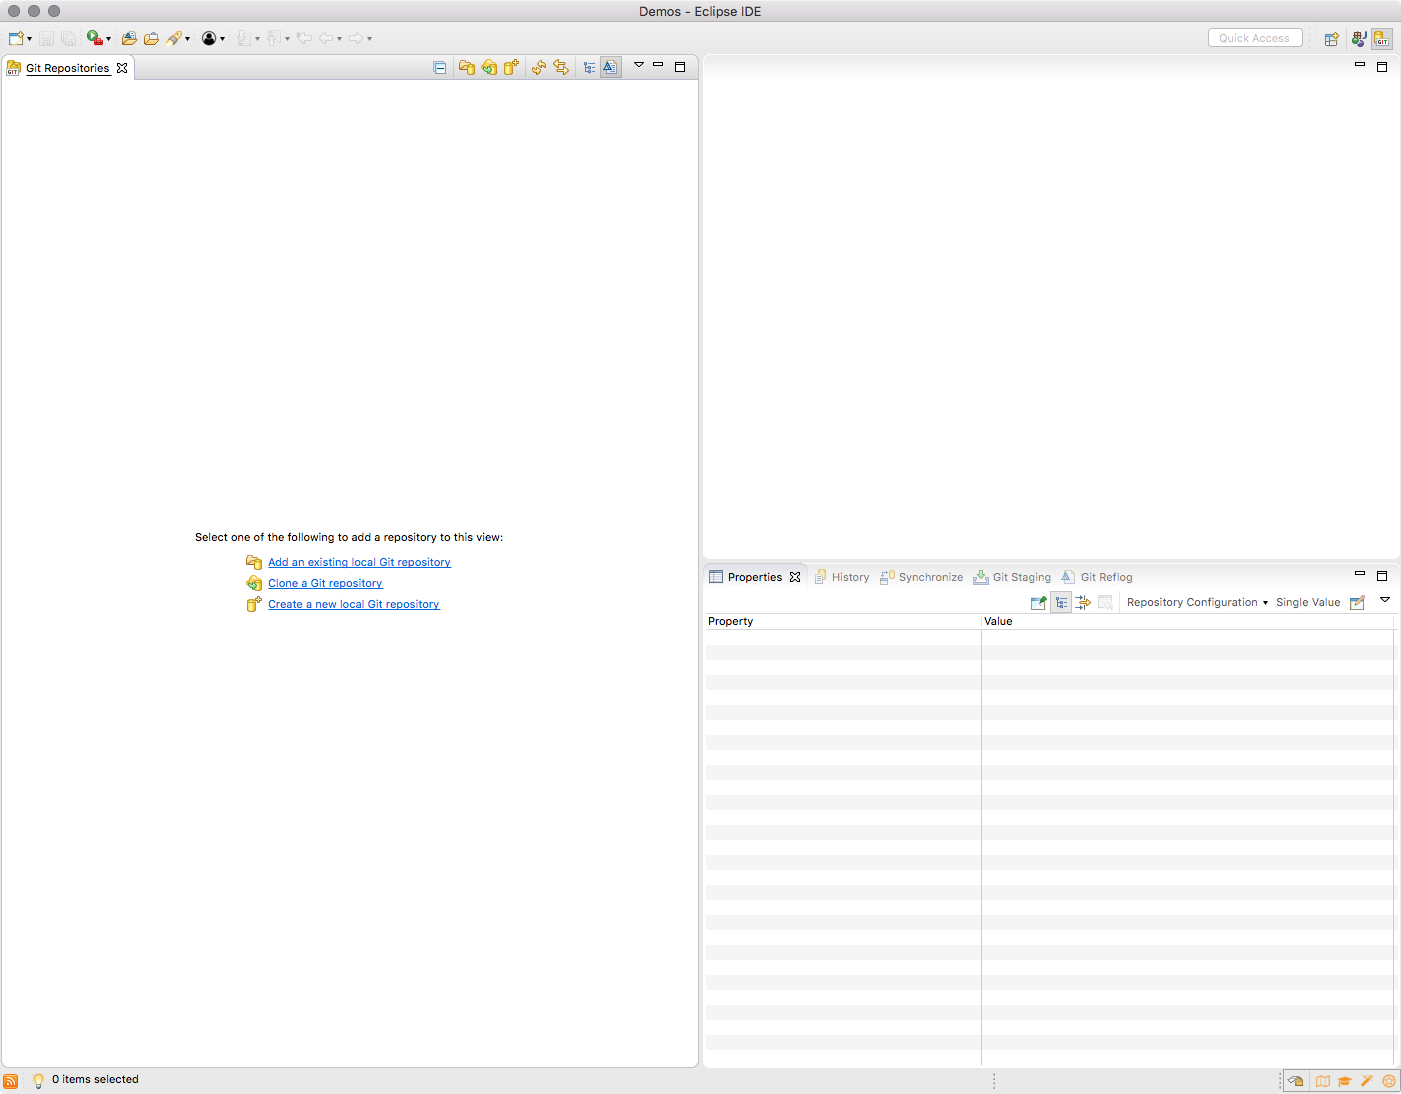
Click the “Open” button. The “Git Perspective” should look similar to this:
-
Click the “Clone a Git repository” button or link. (You can hover over the buttons to see their descriptions.) This should open the following dialog window:
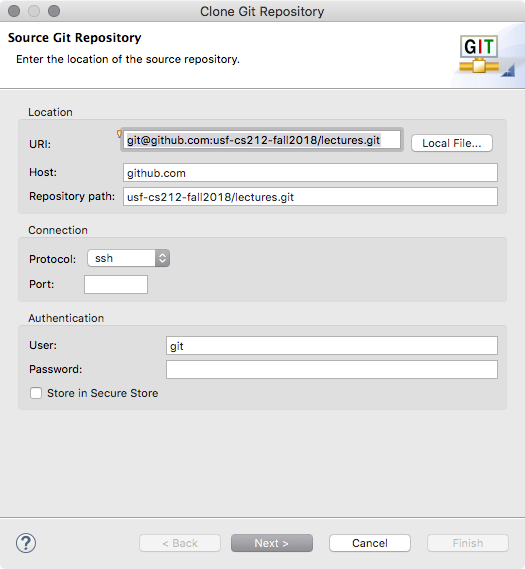
The fields should automatically fill in based on the link you copied in Github. (If not, hit cancel, copy the link, and then re-open the dialog window.)
-
Click the “Next” button, make sure the
mainbranch is selected, and click the “Next” button again. If you are storing your CS 212 code in a specific folder, click the “Browse” button and select it in the following dialog window: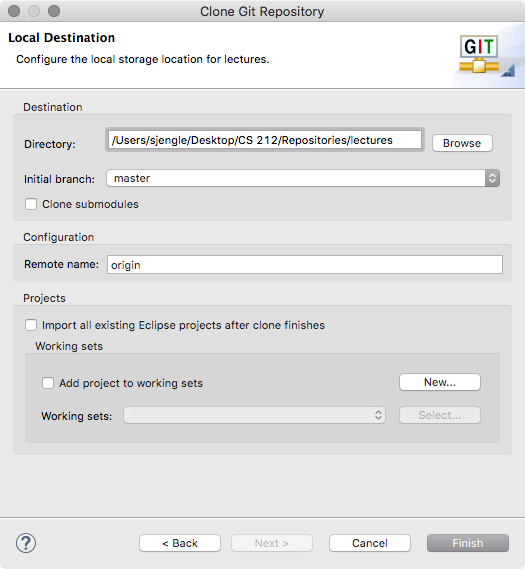
Follow the prompts to finish the process.
-
You should now see the repository listed in the Git Perspective:
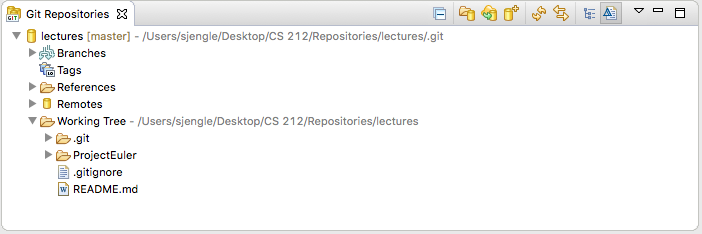
You can right-click the repository to access several
gitactions, including the “Pull” action which you will need to keep this local repository (on your system) synchronized with your remote repository (on Github).
You only need to add this repository once, even if there are multiple Eclipse projects within that repository. For example, you only need to import the lectures repository once. However, since each homework assignment has its own repository, you will have to import each repository separately.
Import Projects into Eclipse
Before you start, double-check that you have the latest version of the remote repository by performing a “Pull” action (Help).
This is especially important if you are importing new projects from a repository you added earlier, like the lectures repository. If you forget to synchronize the repository, you will not see the new lecture code.
Now that the repository is added to Eclipse and up-to-date, you can import the Java projects from that repository into Eclipse using these steps:
-
In Eclipse, select “Import…” from the “File” menu.
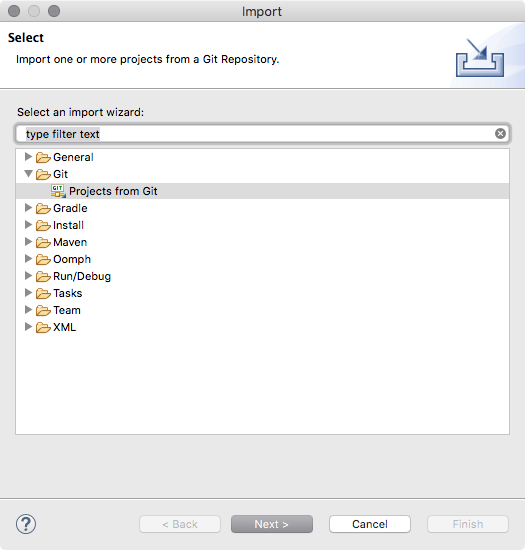
Select “Projects from Git” in the dialog window and click the “Next” button.
-
Select “Existing local repository” and click the “Next” button. Select the repository in the next dialog window.
-
Make sure to select “Import existing Eclipse projects” in the dialog window:
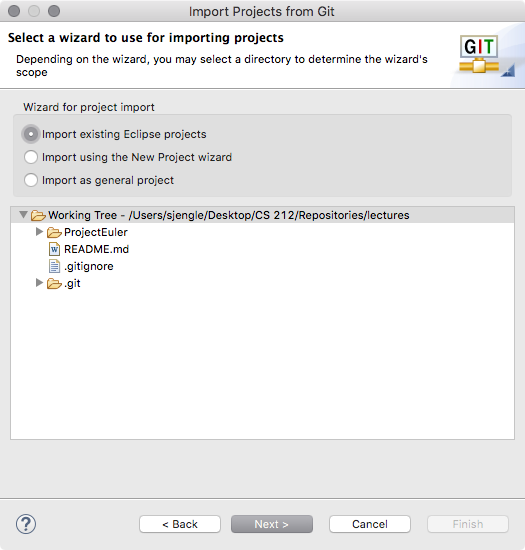
Click the “Next” button to continue.
-
Make sure the projects you wish to import is selected and click the “Finish” button. Some projects may be greyed out if they have already been imported into Eclipse previously.
-
Double-check the project setup and try running the code. If you see errors, use the troubleshooting steps below. Otherwise, your project is ready!
Troubleshooting
If you notice several errors, it is likely something isn’t quite right with the build path setup for your Eclipse project. This happens when your setup is different from expected (either you have a different version of Eclipse or Java).
To fix this, right-click your project folder and select “Build Path” and “Configure Build Path” from the menus. On the following window, click the “Libraries” tab. Remove everything that has a red “x” icon or is listed as “unbound” in the label.
Now, we have to re-add the necessary libraries. Click the “Add Library…” button and follow these steps:
-
Select “JRE System Library” to re-add Java 14 (if necessary). I recommend you select “Workspace default JRE” unless the default is NOT Java 14.
-
Select “JUnit” to re-add JUnit 5 (if necessary). Make sure “JUnit 5” is selected in the dropdown, not JUnit 4.
-
Select “User Library” to add a third-party user library (if necessary).This is now handled using the maven tool.
Click “Apply” and “OK” when done. You should see all of the scary red icons disappear. If not, ask on Piazza or during office hours for help!
It can also help to do these steps as well:
-
Clean up the project by going to “Project” » “Clean…” in the menu.
-
Update the maven project by right-clicking the project in the Package Explorer view, selecting “Maven” » “Update Project…” from the menu.
If the Eclipse workspace becomes corrupted somehow, it is often easier to make sure your code is committed and pushed to Github, and then re-importing everything in a fresh workspace.
Video Walkthrough
This video walkthrough will illustrate this entire process on a Mac OSX system. Alternatively, you can follow the steps in the sections below. This is an older video—some steps may not align perfectly.