
Most remote learning and activities will use Zoom meetings. This often includes remote lectures, office hours, appointments with on-campus student services, and advising. If you have not used Zoom with your USF account before, this guide will walk you through how to get setup for the first time.
System Requirements
Zoom is free to install and use on desktops or laptops running Windows, Mac, Linux. There is also a Zoom app available for most iOS and Android mobile devices.
Using Zoom effectively requires:
- preferably a desktop or laptop system so you can either see screen sharing content or share your own screen during video calls
- optionally a web camera to participate in video calls
- either a microphone to participate in audio conversation or a phone that you can use to call into a meeting
- preferably headphones to prevent microphone feedback or speakers to hear audio
- a reliable high-speed internet connection to actively participate in live discussions (not required to watch recordings)
These are not all required, but can greatly impact your remote learning experience. If you are concerned about your access, please see the “Access to Technology” section of the USF Remote Learning FAQ.
Installing Zoom
To start, go to https://usfca.zoom.us/ and click the “Download Zoom” button or link. You want to download the installer for “Zoom Client for Meetings” on that page:
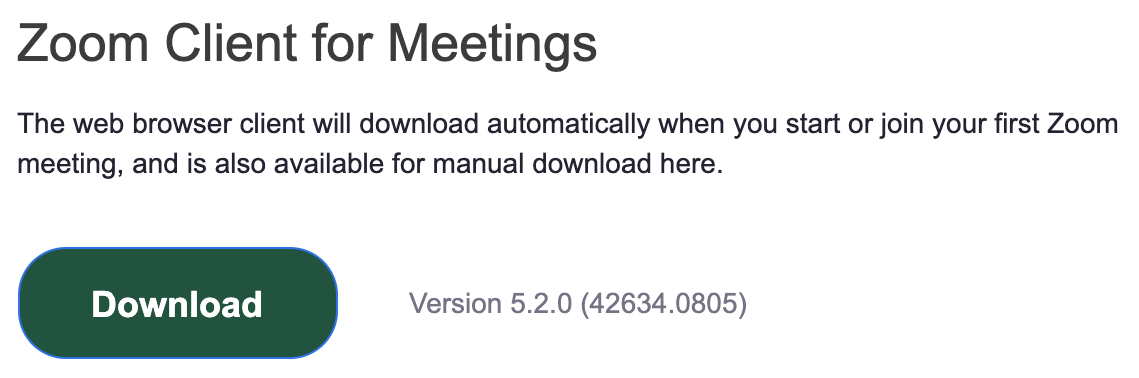
Open the downloaded file and follow the prompts to install.
Logging into Zoom
Most Zoom meetings and webinars will require you to sign in using your USF account. Using your USF account provides greater security and access to additional features.
To sign in, click the “Sign in with SSO” button, enter usfca when prompted for a domain, and then click “Continue” to sign in using your USF account:
If you are having trouble logging in with your USF account, see the Student Quick Start Guide from ITS. There is also a “live chat” feature accessible on that page for additional assistance with your account.
The acronym SSO stands for single-sign on, which is a process that allows you to use a single username and password for multiple different services, like MyUSF, Canvas, and Zoom.
Other Security Measures
Some Zoom meetings will use additional security features to prevent misuse by unauthorized users.
One of these features may be a meeting passcode or requiring you to register for the meeting prior to joining. In those cases, you should receive additional information either on Canvas or to your official USF email account.
If you see a message that looks like:
Please wait, the meeting host will let you in soon.
…that means the meeting host has enabled the waiting room feature. You will need to wait until the meeting host admits you into the meeting. In the meantime, you can click the “Test speaker and microphone” link to test your setup.
Joining Meetings
See the [[Zoom Links]] page for the Zoom meeting information for this course. At a minimum, you need to know the Zoom meeting ID to connect. On a desktop or laptop system, you will be able to click on a link to join a Zoom meeting. The link will look like:
https://usfca.zoom.us/j/meetingid
…except meetingid will be replaced with the actual Zoom meeting ID. Alternatively, you can also join by directly entering the meeting ID in the Zoom client:
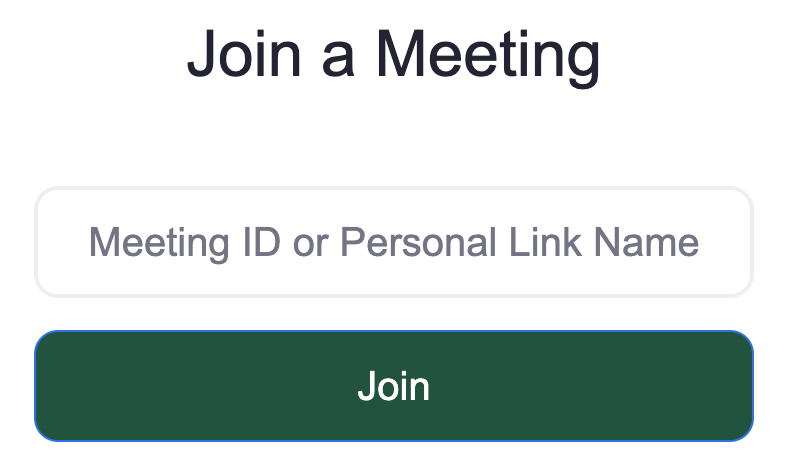
If your audio is lagging, you can also call into most Zoom meetings using a mobile device or telephone. Those telephone numbers are usually included in your Zoom invite. If not, you can look up the phone numbers here:
https://usfca.zoom.us/zoomconference
Scroll towards the bottom for the US-based numbers. You will be prompted to enter the Zoom meeting ID once you call.
Using Zoom
If you want to test out your Zoom setup and get familiar with various features, go to:
For interaction with the instructor and other students, it will be important to understand how to use features such as:
-
The in-meeting chat feature allows you to communicate even if you do not have your video or audio enabled. Depending on the meeting, you can chat to “Everyone” or privately to specific people.
-
The raise hand feature allows you to virtually raise your hand to get the instructor’s attention:
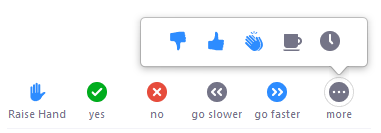
The instructor will see hands in the order they are raised. Some meetings might have other features (like responding “Yes”) as well. Since your video might not always be visible to the instructor, this is usually the preferred method for getting the host’s attention.
Note: This is different from meeting reactions, which shows an emoji in the corner of your screen for a short time:

Since these reactions quickly fade, the “raise hand” feature is often preferred to get the instructor’s attention.
-
The in-meeting polls feature allows the meeting host to collect immediate feedback. Usually the poll is only available for a short period of time. The meeting host decides whether the polls will be anonymous. If not, the host will be able to download a report later on how everyone responded.
-
The breakout rooms feature allows students to interact in smaller groups. You are encouraged to enable your microphone and video when in a breakout room. You can use the “Ask for Help” feature to ask for the instructor’s help while in a breakout room.
-
The screen sharing feature can be very useful for getting help when interacting one-on-one or in small groups.
Students have access to many of the same features as faculty, so try creating your own meeting and experiment with the different features!
Getting Help
If you need additional help with Zoom, check out these resources:
Or, reach out to the instructor or teacher assistants for help.